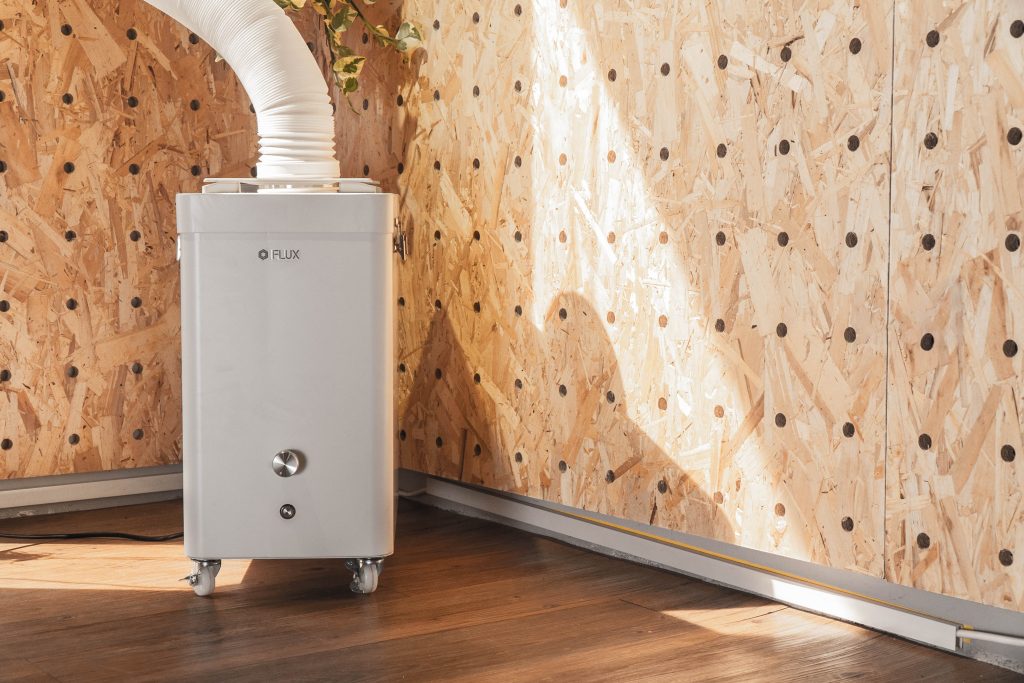
CO2 雷射
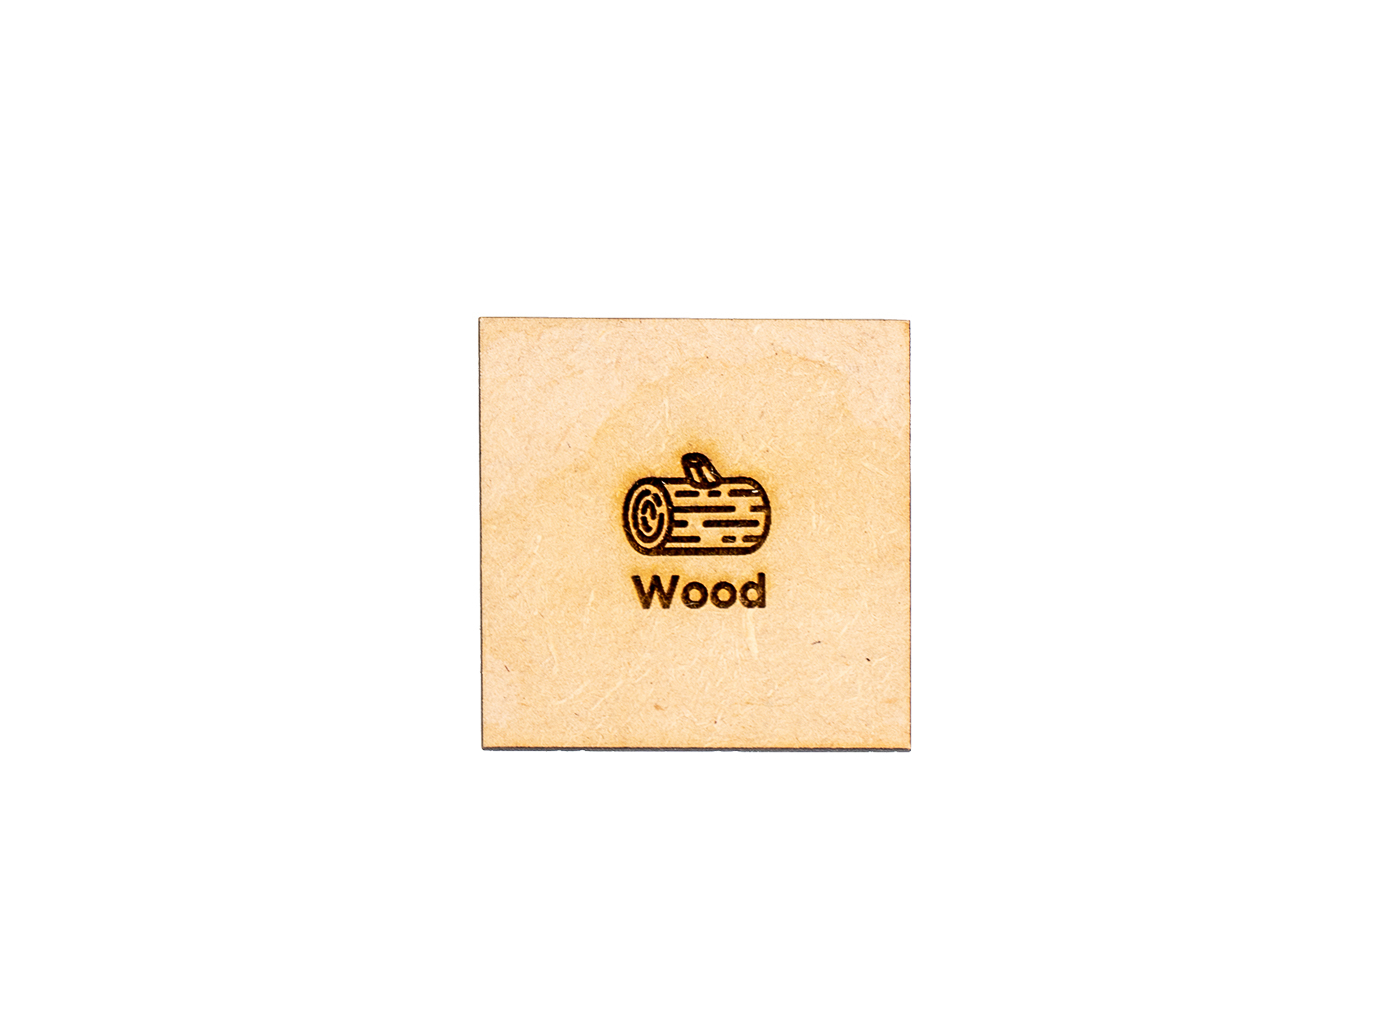
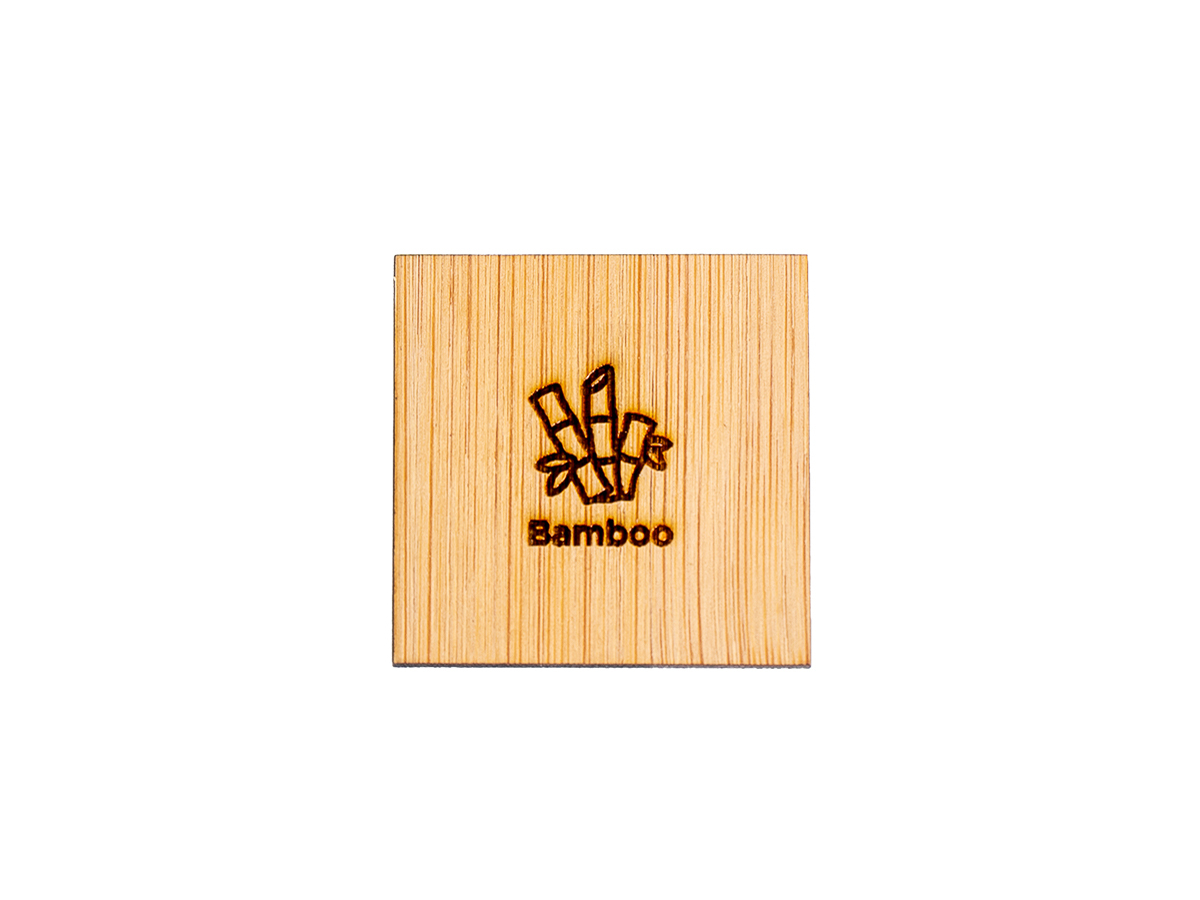
協助你在廣泛運用層面的絕對助力,輕鬆雕刻及切割木頭、壓克力、皮革等多項常見材質,並帶來省時、強效的雷射效果。
二極體雷射
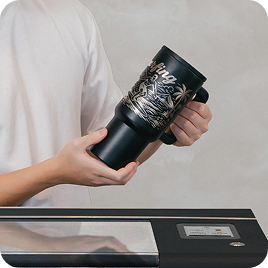
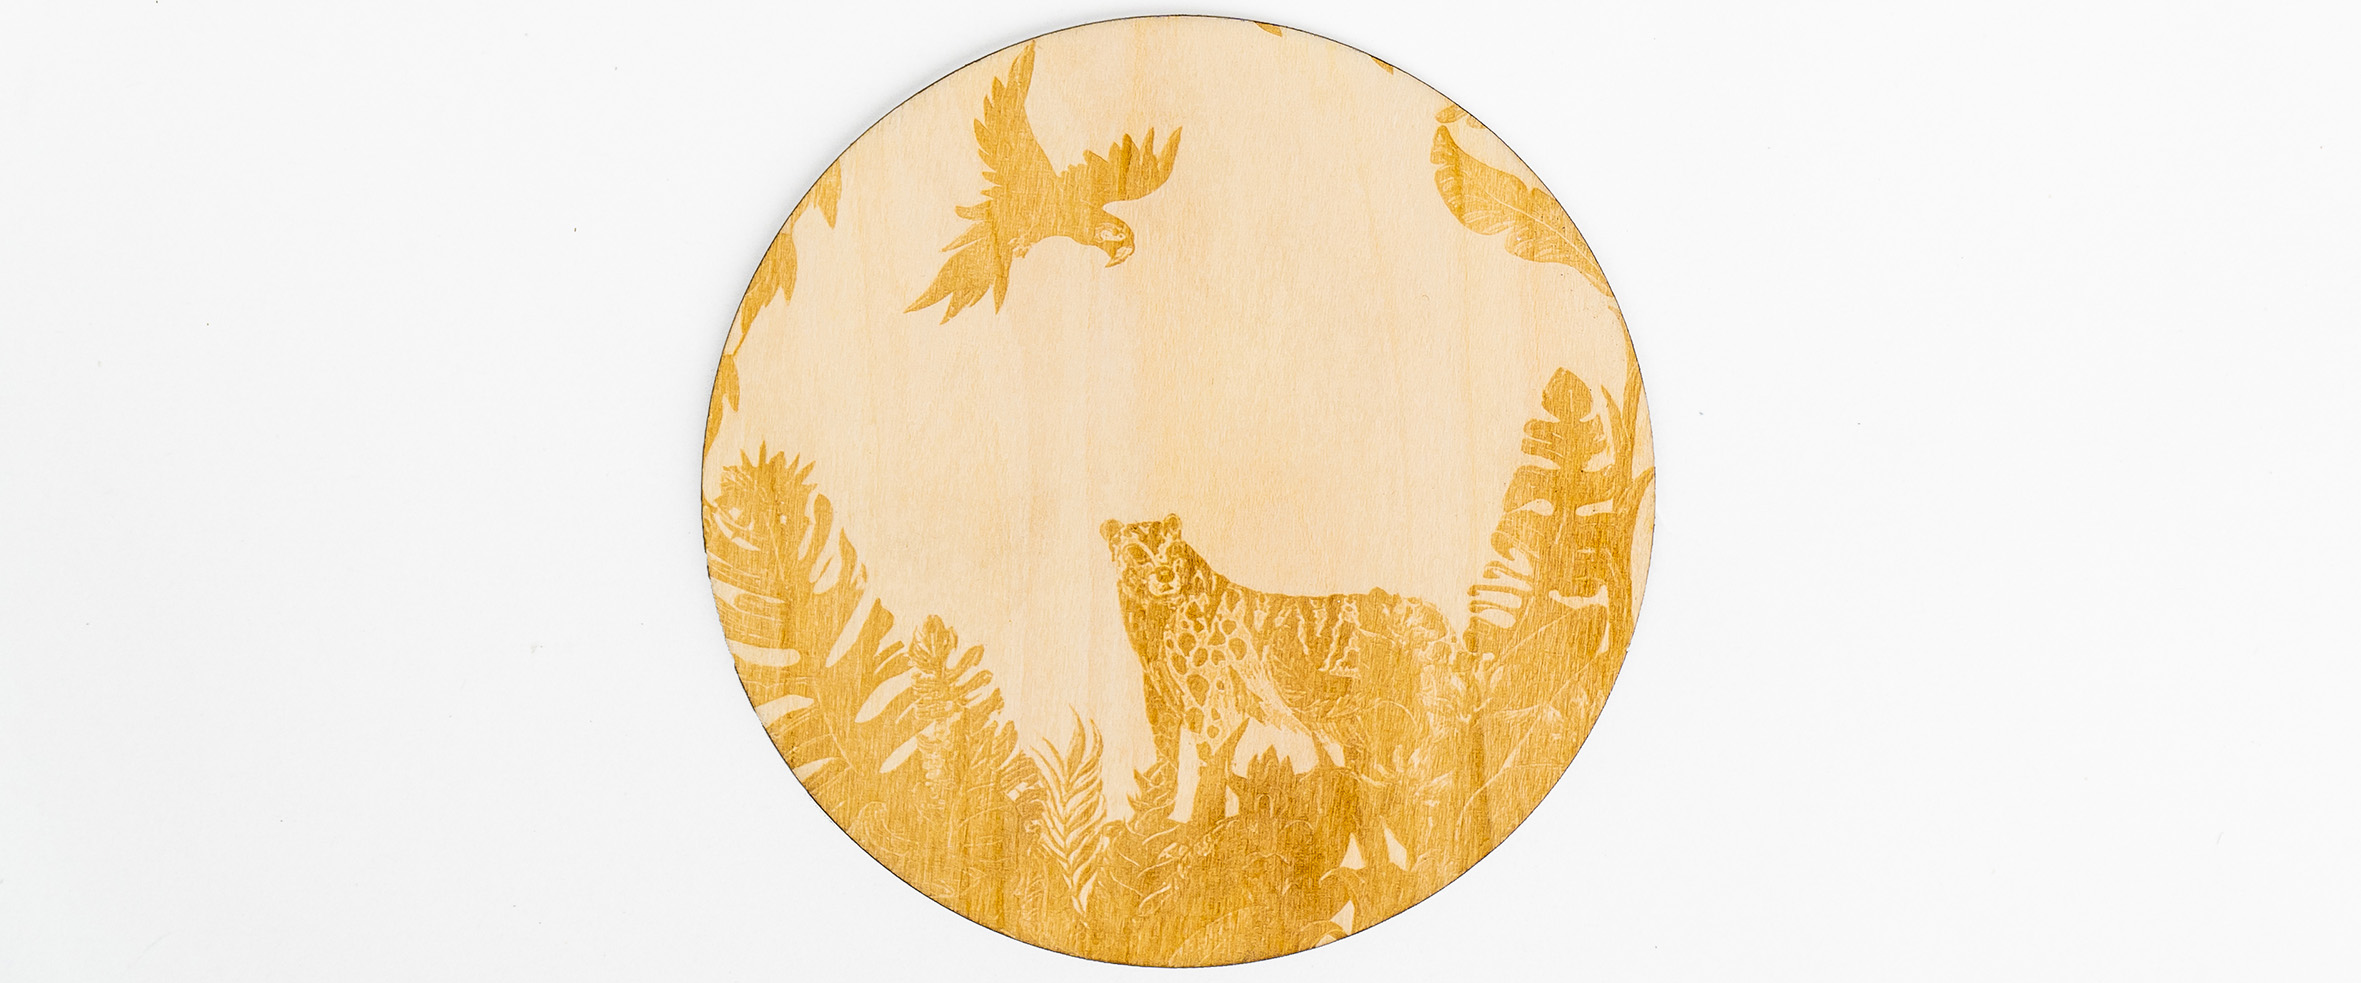
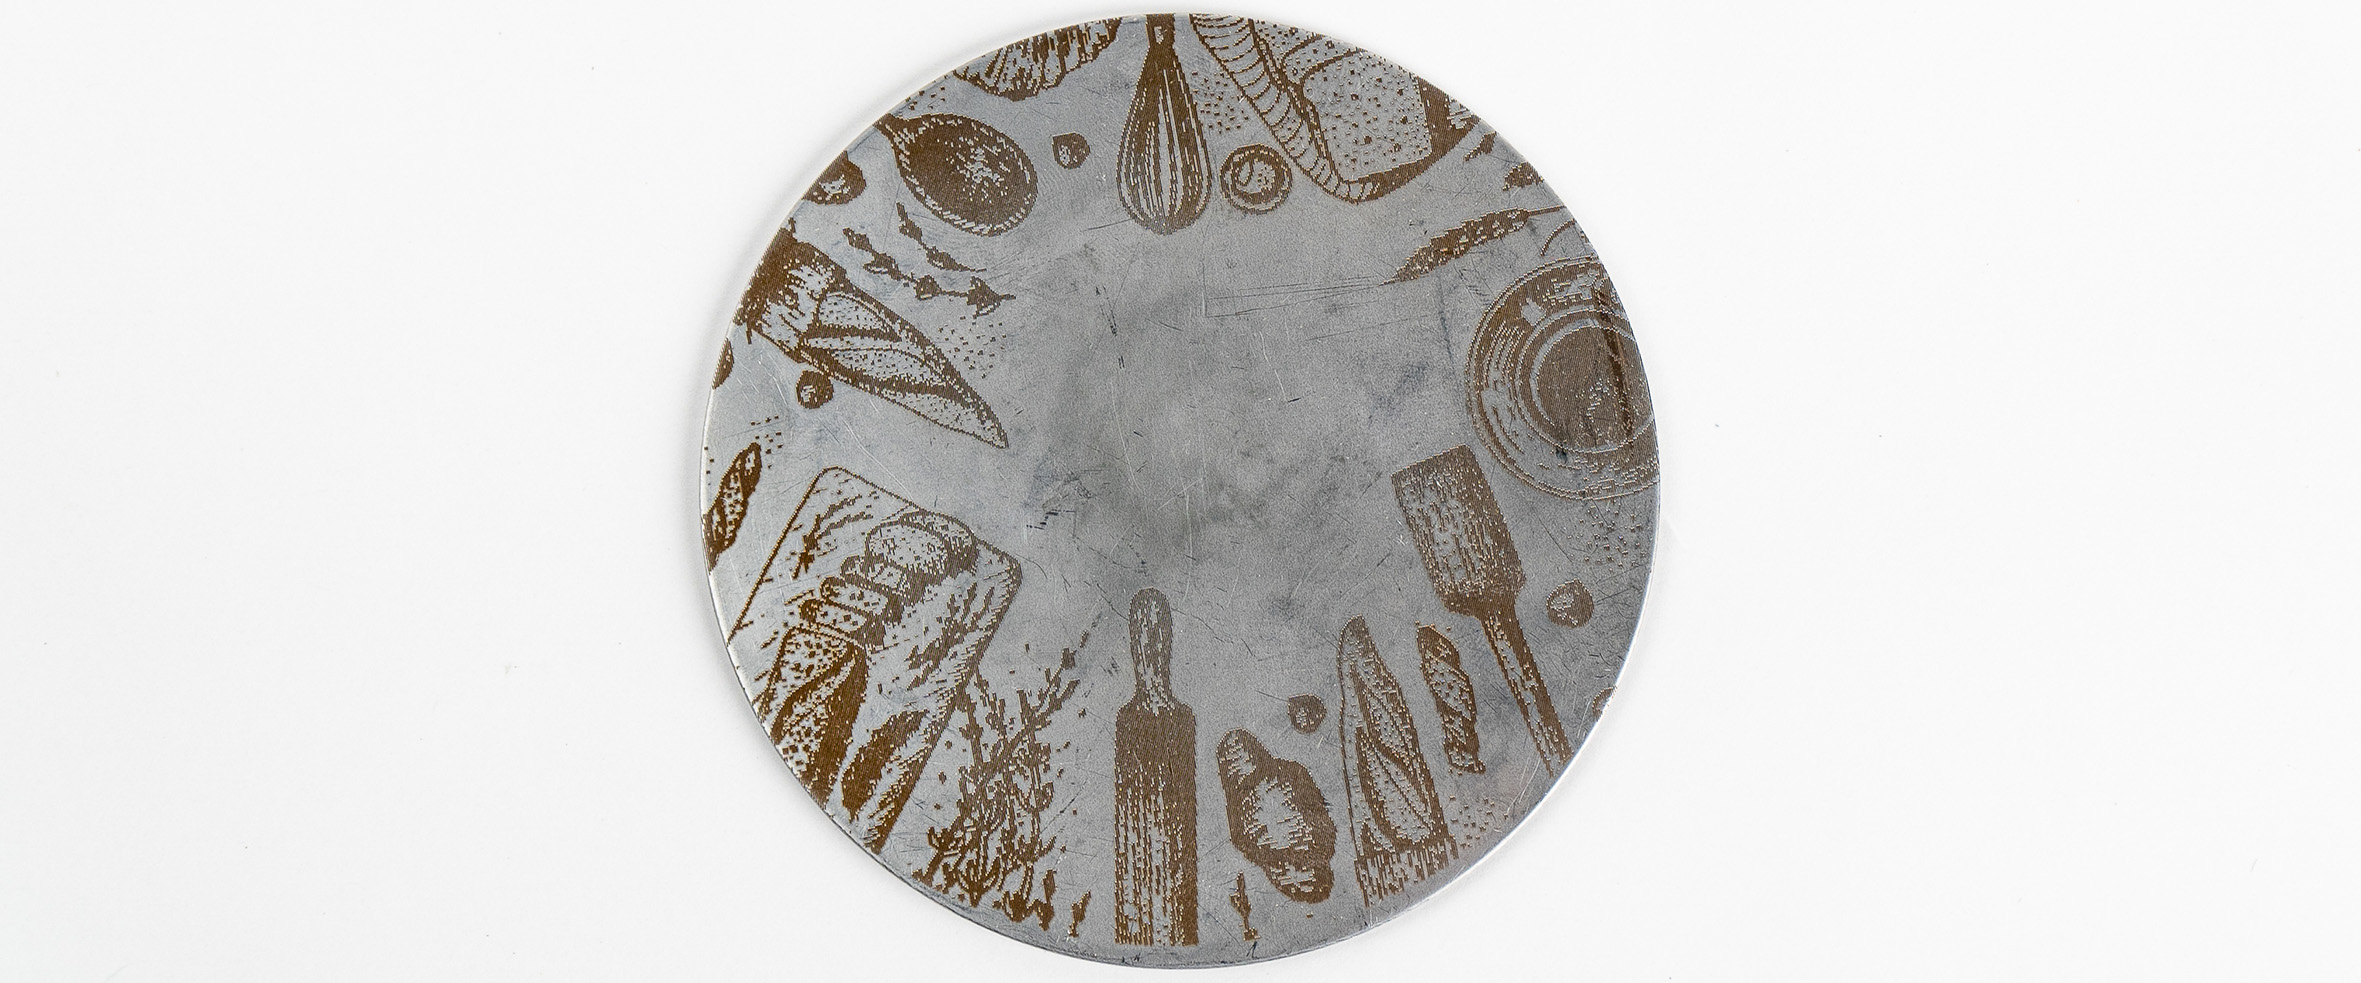
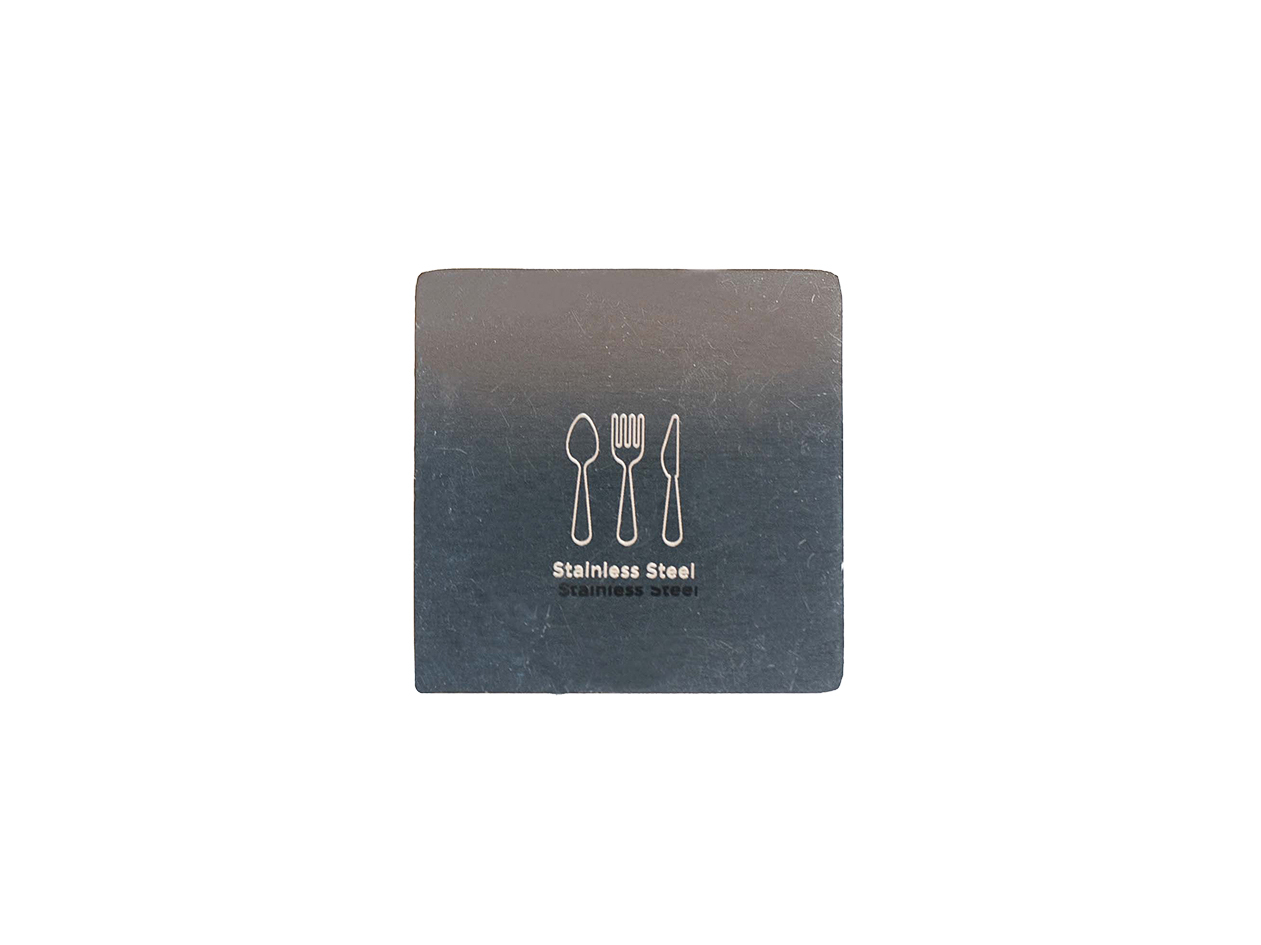
搭載 FLUX 二極體雷射模組,即可免去不鏽鋼噴劑使用步驟,直接雕刻在大部分的不鏽鋼物件上,且效果極佳。



42.8 x 53.45 x 80mm
270g
5W
After installation, the working area of diode laser module is 230mm x 200mm. The working area of CO2 laser will be reduced to 250mm x 200mm.
Diode Laser Module*1、Focusing block*1、Orange acrylic door cover*1、Black Door cover sticker*1、Positioning plate (for manual focusing)

安裝後二極體雕刻範圍為 230mm x 200mm, 且 CO2 雕刻範圍將縮小至 250mm x 200mm
二極體雷射模組*1、對焦塊*1、橘色壓克力門蓋*1、門蓋貼條*1、定位鐵片*1(手動對焦專用)

There are only 7 installation steps to set up your diode laser add-on, and every detail is in the user manual and online help center, you can check for it via this link.
We provide a 12-month warranty for FLUX diode laser add-on. If you’ve encountered an issue, please contact our technical staff, so we can determine a suitable fix.
The wattage of the diode laser module is 5W, wavelength 450 nm.
2. Why does the Diode laser module engrave stainless steels ?
Because specific types of stainless steels have higher absorption rate for blue light with this certain wavelength, so they can be engraved.
3. What safety precautions should I take?
The diode laser module will emit strong blue light, which may damage your eyesight, please make sure to install the orange acrylic door cover before operation.
After installation, the working area of the diode laser module is 230mm x 200 mm.The working area of CO2 laser will be reduced to 250mm x 200 mm.
Almost no consumables.
Beam Studio v1.7.1 and later.
1.Go to the top menu => Document Settings, find the Diode Laser Module and enable it, then Save.
2.Calibrate the Diode Laser Module. Go to the top menu => Machine => Your machine name => Calibrate Diode Laser Module. Finish the calibration with the following steps.
3.Select the Layer you would like to use the diode laser, and go to the Add-on section. Enable the Diode Laser.
4.Notice that your objects are in the save area. (Non-gray area)
5.Send your work to the machine after setting the Power and Speed.
Please go to Preferences, find the Add-on section, and change the Diode Laser Default to “On.”
只需要安裝七步驟就可以輕鬆完成,所有安裝細節在使用說明書及官網線上支援中心皆有清楚介紹,歡迎透過此連結暸解更多!
我們為客戶提供長達一年的有限保固。
二極體雷射套件使用的雷射為 5W CO2 450nm。
2. 為什麼二極體雷射套件可以直接雕刻不鏽鋼呢?
因為不鏽鋼對於此波長之藍光光源吸收率較高,故使用二極體雷射模組可在上雕刻。
3. 雷射聽起來很危險,要特別注意什麼嗎?
二極體雷射模組會發出強藍光,直視恐損傷視力,請確實安裝橘色壓克力門蓋後,再進行操作。
安裝完成後,二極體雷射套件的工作區域為 230mm x 200 mm. CO2 雷射的工作區域同時會縮小至 250mm x 200mm.
二極體雷射套件基本上不需要進行耗材更換。
建議使用 Beam Studio 1.7.1 以上的版本。
加裝完二極體套件後,請依循下方步驟完成二極體軟體設定。
1. 請到上方選單找到 編輯 => 文件設定 中找到二極體雷射選項將他啟用,啟用完畢後儲存。
2. 執行校正二極體功能,上方選單找到 機器 => 您的機器名稱 => 校正二極體雷射模組,依循步驟校正。
3. 選定要使用二極體雕刻的圖層後,在右側面板找到擴充模組的類別,將二極體雷射勾起。
4. 注意您的雕刻物件是否在畫布中的安全範圍(非灰色區域)。
5. 設定完速度與功率後即可送出工作雕刻。
請到偏好設定中找到雷射模組,將二極體雷射預設下拉選單更改為「開」。
